 Pin it
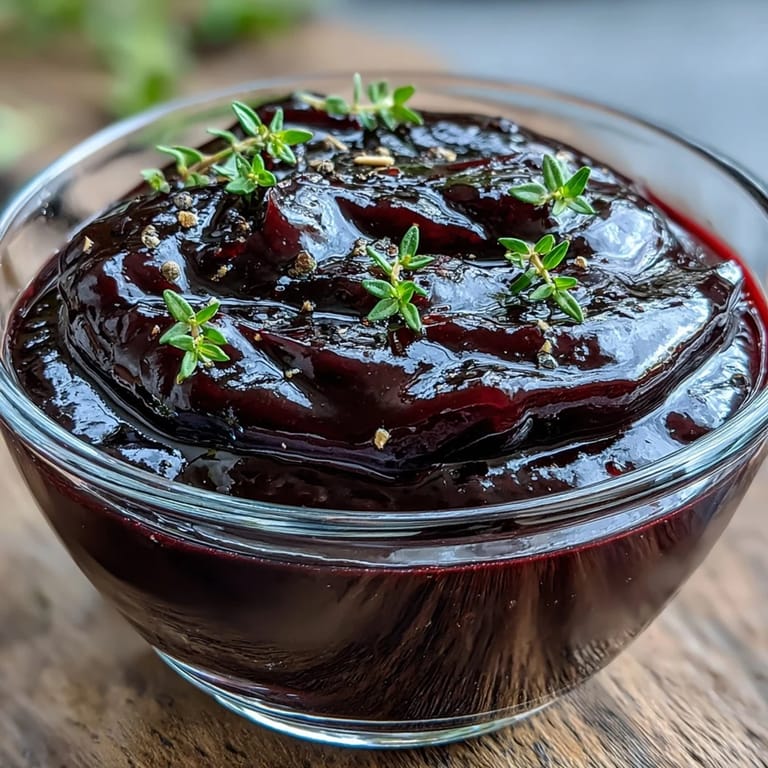
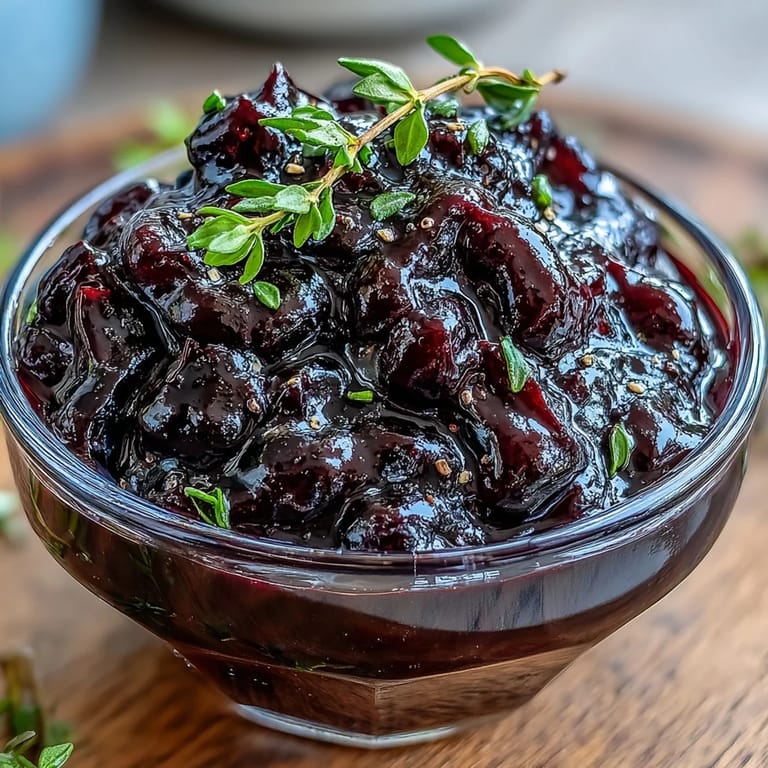
 There's something about watching a glossy glaze catch the light that makes you feel like you've actually accomplished something in the kitchen. I stumbled onto this black currant version on a grey afternoon when I needed to salvage a ham that felt a bit plain, and honestly, it transformed everything. The moment that sticky, jewel-toned mixture hit the hot meat and started to caramelize, I knew I'd found something special. Now I make it constantly, sometimes impulsively, because it takes barely any time and makes whatever you're cooking taste intentional.
I'll never forget the Thanksgiving when my cousin's kid asked why the ham tasted like 'jewels,' and that's when I realized how much this glaze elevates things. It wasn't just the flavor, it was that deep burgundy sheen that made the whole plate look like someone really cared. People remember when you brush something shiny and intentional over their food.
Ingredients
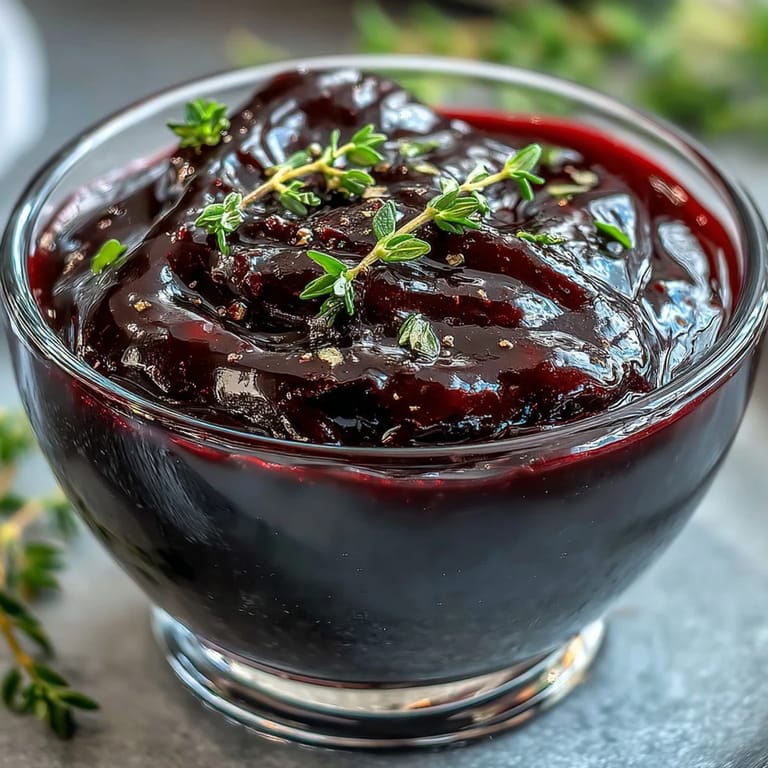
- Black currant preserves: This is the backbone, and it matters that it's actual preserves with some texture, not a thin jelly that won't cling to anything.
- Balsamic vinegar: The vinegar keeps things from becoming one-note sweet and adds a subtle depth that makes people wonder what you did.
- Honey: Not just for sweetness, but for that glossy sheen that makes the glaze catch light.
- Dijon mustard: A small amount brings an earthy sharpness that stops the glaze from tasting like dessert.
- Unsalted butter: This smooths out everything and adds a richness that makes the glaze feel luxurious instead of thin.
- Brown sugar: Helps the glaze thicken and deepens the flavor slightly with its molasses undertone.
- Fresh thyme leaves: If you use them, they add an herbaceous note that feels sophisticated without being heavy.
- Ground black pepper: A quiet addition that brightens everything and keeps the glaze from feeling flat.
- Salt: Just a pinch to make all the flavors speak up.
Tired of Takeout? 🥡
Get 10 meals you can make faster than delivery arrives. Seriously.
One email. No spam. Unsubscribe anytime.
Instructions
- Combine your base:
- Add the black currant preserves, balsamic vinegar, honey, Dijon mustard, butter, and brown sugar to your small saucepan. Don't worry if it looks a bit chunky or separated at first, that's completely normal.
- Melt and smooth:
- Set the pan over medium heat and stir constantly until the butter melts completely and everything comes together into one cohesive mixture. You'll feel the texture shift under your spoon as it becomes smooth.
- Season and layer:
- Stir in your thyme if you're using it, then add the black pepper and a pinch of salt. Taste it at this point if you can, because these seasonings change everything.
- Let it become glossy:
- Keep the heat at a gentle simmer and stir occasionally for 5 to 7 minutes, watching as the mixture loses its raw look and starts to shine. You'll notice it thickening slightly and the color deepening.
- Use it while it's hot:
- Remove from heat and brush over your meat or vegetables during the last 20 to 30 minutes of cooking, or serve it warm on the side. The warmth helps it cling better and flavor deeper.
 Pin it
 There was a moment during a dinner party when someone quietly pushed their empty plate away and asked if I'd considered selling this glaze, and that's when I knew it had crossed from being just a recipe into something that mattered. It's one of those small kitchen wins that makes people feel cared for without any fuss.
When to Use This Glaze
This glaze behaves beautifully on roasted ham, where it caramelizes into a lacquered finish that's both sticky and elegant. It also works brilliantly on duck because the tartness cuts through the richness, or on baked root vegetables where it adds a glossy sweetness that makes them feel like they belong at a proper dinner table. Pork chops, chicken thighs, even cauliflower steaks benefit from this treatment.
Substitutions That Actually Work
If you can't find black currant preserves, red currant or cherry preserves will do the job and shift the flavor slightly toward brighter fruit notes instead of the deeper currant complexity. Raspberry preserves can work too, though they'll be sweeter and less earthy. The ratio stays the same, so you're not starting over, just adjusting the fruit.
Storage and Make Ahead
This glaze keeps beautifully in a sealed jar in the fridge for up to a week, and you can absolutely make it ahead on the morning of your meal. Simply reheat it gently over low heat, stirring occasionally, until it's warm enough to brush, and it comes right back to that glossy consistency. I've also frozen leftover glaze in ice cube trays and thawed individual portions when I suddenly wanted to dress up dinner on a random Tuesday.
- Cold glaze becomes stiff, so always warm it slightly before brushing so it flows and clings properly.
- If it thickens too much while sitting, add a teaspoon of water and stir gently to loosen it.
- Label your jar with the date so you remember when you made it and actually use it within the week.
 Pin it
 This is one of those recipes that proves you don't need complicated technique to make something memorable, just good ingredients and a moment of attention. It's the kind of glaze that turns an ordinary dinner into something people talk about later.
Recipe Q&A
- → What dishes pair best with black currant glaze?
This versatile glaze excels on roasted pork, glazed ham, duck, chicken, and root vegetables. The tangy sweetness cuts through rich meats while adding a beautiful glossy finish that caramelizes beautifully during cooking.
- → Can I make the glaze ahead of time?
Yes, prepare the glaze up to one week in advance and store in a sealed jar in the refrigerator. Reheat gently before using, as it may thicken when cold. Add a splash of water or vinegar if needed to reach brushing consistency.
- → What can I substitute for black currant preserves?
Red currant, cherry, or blackberry preserves work well as alternatives. Each brings slightly different notes but maintains the tart-sweet balance. Adjust honey accordingly based on your preserve's natural sweetness.
- → How do I achieve the smoothest texture?
For an ultra-smooth glaze, press through a fine mesh sieve after cooking to remove fruit solids and seeds. This step is optional but creates a more refined, professional appearance ideal for special presentations.
- → Should I apply the glaze before or after cooking?
Brush during the last 20-30 minutes of cooking to achieve a sticky, caramelized coating without burning. The sugars in the glaze can scorch if applied too early. For extra gloss, apply a fresh coat immediately after removing from the oven.