 Pin it
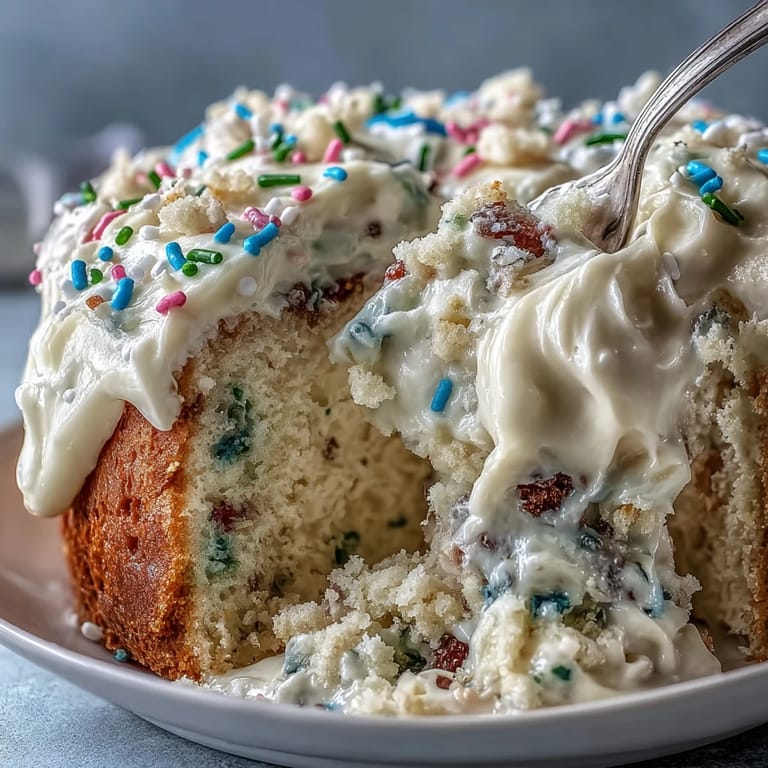
 There was a spring afternoon when the scent of vanilla and the vivid scatter of sprinkles had every window in my kitchen glowing with light. A playlist of cheerful pop tunes played in the background as I tried this Funfetti Dip Cake for a friend's birthday, my counters speckled in colors and laughter bubbling from the next room. I hadn't planned on baking something this bright, but the dip concept caught my eye, and I couldn't resist a cake that promised both layers and fun. Little did I know, the funfetti would stick to my fingers, the dog would sneak a sprinkle, and the result would be a new party tradition. The whole process felt like inviting confetti right into my home—simple joy baked in every bite.
One day I brought this cake to a family picnic, thinking it might be over the top, but it was the first thing gone from the table. I still smile at the memory of my niece joyfully pressing candies along the edge while my brother swiped extra funfetti dip with his finger when he thought no one was looking. That mix of kids’ giggles, frosting-flecked cheeks, and a slightly skewed stack of cake layers made for a perfectly imperfect party moment.
Ingredients
- All-purpose flour: Use a light hand when measuring so the cake stays airy—level it off for accuracy.
- Baking powder: Gives each bite a bit of bounce; double-check freshness for best results.
- Salt: Just a pinch brightens the sweetness and balances sugar so the cake isn’t cloying.
- Unsalted butter: Let it fully soften for extra-creamy batter and frosting.
- Granulated sugar: Cream it with butter until the mixture almost doubles in size for fluffiness.
- Large eggs: Add one at a time to avoid curdling and ensure the smoothest batter.
- Vanilla extract: This is where the cake steals those bakery-shop smells—don’t skimp.
- Whole milk: The fat keeps cake moist; bring it to room temperature for even mixing.
- Rainbow sprinkles (jimmies): These won’t bleed color like nonpareils; gently fold them in.
- Cream cheese: Softened cream cheese is the backbone of the dreamy dip; it’s worth waiting for that perfect temperature.
- Powdered sugar: Sift if you can to avoid any sneaky lumps in your dip.
- Spring candies: Optional but chipper—kids love helping decorate with them.
Tired of Takeout? 🥡
Get 10 meals you can make faster than delivery arrives. Seriously.
One email. No spam. Unsubscribe anytime.
Instructions
- Prep and Preheat:
- Switch on your oven to 350°F and line two cake pans with parchment—your future self will thank you.
- Mix the Dry:
- Whisk flour, baking powder, and salt; notice the satisfying sound as you combine them.
- Cream the Butter and Sugar:
- Mix until light and fluffy; the aroma of buttered sugar signals this is going to be special.
- Add Eggs and Vanilla:
- Crack in eggs one by one, then stir in vanilla until everything smells sweet and familiar.
- Combine and Fold:
- Alternate dry mix and milk into the batter, being gentle, then softly fold in sprinkles right at the end.
- Bake, Cool, and Dream:
- Evenly pour into pans, bake until tops spring back and cool before releasing the cakes—resist the urge to rush.
- Make the Funfetti Dip:
- Beat butter and cream cheese with a mixer, slowly adding sugar, vanilla, and milk, then stir in sprinkles for that magical speckled look.
- Layer and Decorate:
- Spread dip between cake layers and all around, finish with a joyful avalanche of more sprinkles and candies, then chill to set.
 Pin it
 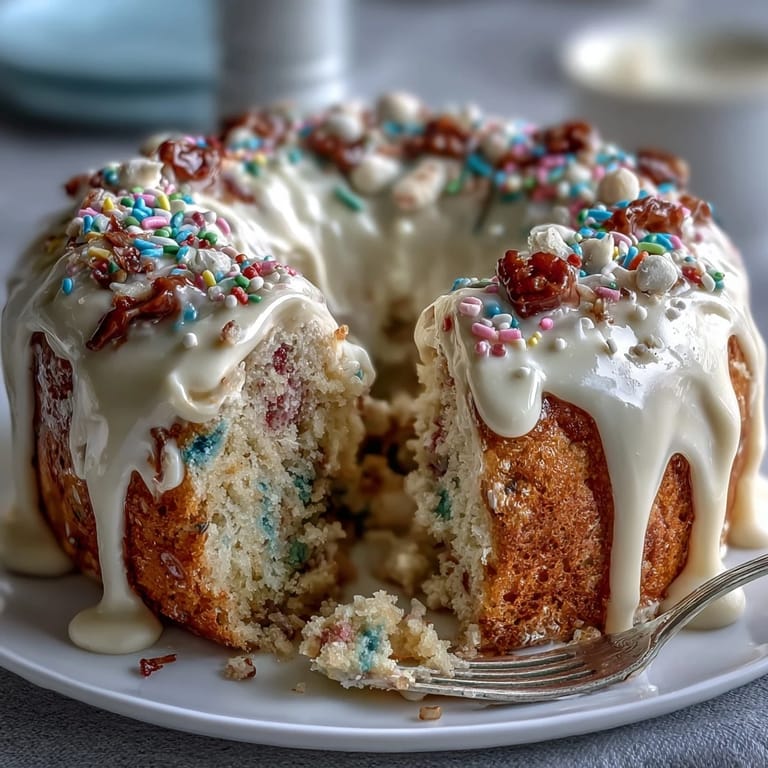 Pin it
 Sitting at the table with friends, slices of sprinkle-studded cake in hand and hands waving away crumbs, I realized this recipe was more than just baking—it was about creating an instant celebration. Someone always ends up with a rainbow of sprinkles on their face, and that’s all the proof I need that this dessert brings out everyone’s inner kid.
Bringing Brightness to Any Table
No matter the season, this cake has the power to light up a gathering, whether it’s for a springtime bash or a casual weekend potluck. I’ve found that people are drawn to the colorful appearance, but they stay for the surprisingly light texture and playful dip.
The Joy of Edible Decorating
Laying out bowls of extra sprinkles and candies and letting guests decorate their own slice turned out to be a low-effort party hit. It gets everyone involved and leads to some hilarious cake art, from polka-dots to smiley faces.
Keeping Things Simple and Fun
I keep extra parchment sheets handy so cleanup is a breeze, especially with all those runaway jimmies. There’s no need to make it perfect—half the charm is in the lopsided dip and lived-in look.
- If you’re short on time, make the cake layers a day ahead.
- Switch out the candies for more sprinkles if allergens are a concern.
- Chill the assembled cake—it slices so much cleaner that way.
 Pin it
  Pin it
 Cake like this reminds me that celebrations don’t always need a reason, just a bit of color and a crowd of happy faces. Be warned, though: you’ll be asked to make it again and again.
Recipe Q&A
- → How do I prevent sprinkles from bleeding into the batter and filling?
Use jimmies rather than nonpareils, fold them in at the very end of mixing, and avoid overmixing. For the filling, stir sprinkles in gently and chill the mixture to keep colors from dispersing.
- → Can I make this with gluten-free flour?
Yes. Use a 1:1 gluten-free all-purpose blend and check that the sprinkles are labeled gluten-free. Baking time may vary slightly; watch for a clean toothpick test and adjust as needed.
- → How should I get a smooth finish using the dip as frosting?
Chill the dip until firm but spreadable, apply a thin crumb coat first, chill to set, then add the final layer. Use an offset spatula for even sides and smooth the top in long strokes.
- → What is the best way to store leftovers?
Cover the cake loosely and refrigerate for up to 3 days. Let slices sit at room temperature 15–20 minutes before serving to soften the filling slightly.
- → Can I prepare elements ahead of time?
Yes. Bake and cool the layers a day ahead and wrap tightly. The dip can be made and chilled up to 48 hours ahead; bring it to spreadable consistency by stirring gently before assembly.
- → How do I ensure even layers and consistent bake?
Divide batter by weight between pans, tap out air bubbles, and rotate pans mid-bake if needed. Level the domes with a serrated knife for even stacking and a neater presentation.