 Pin it
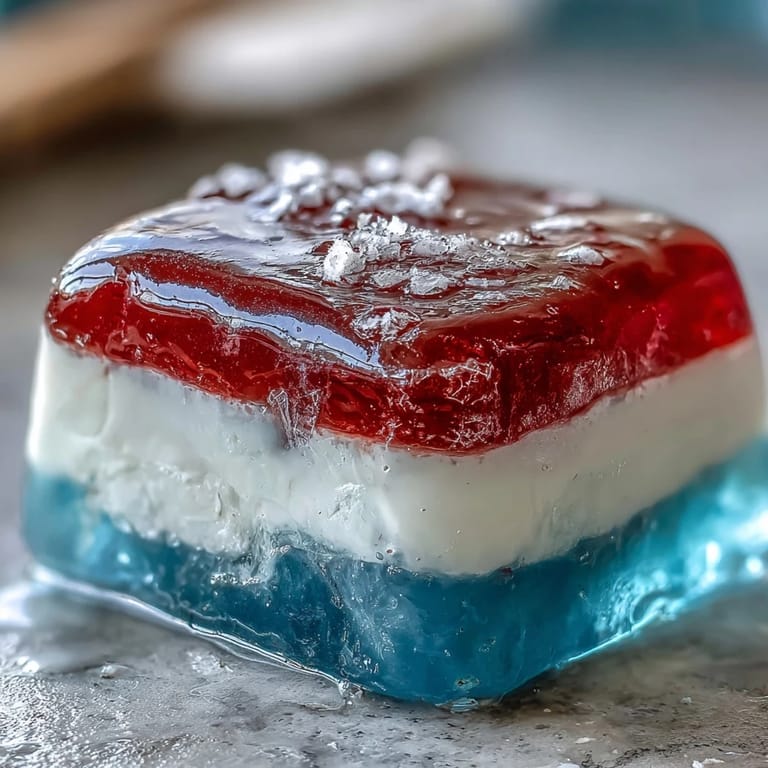
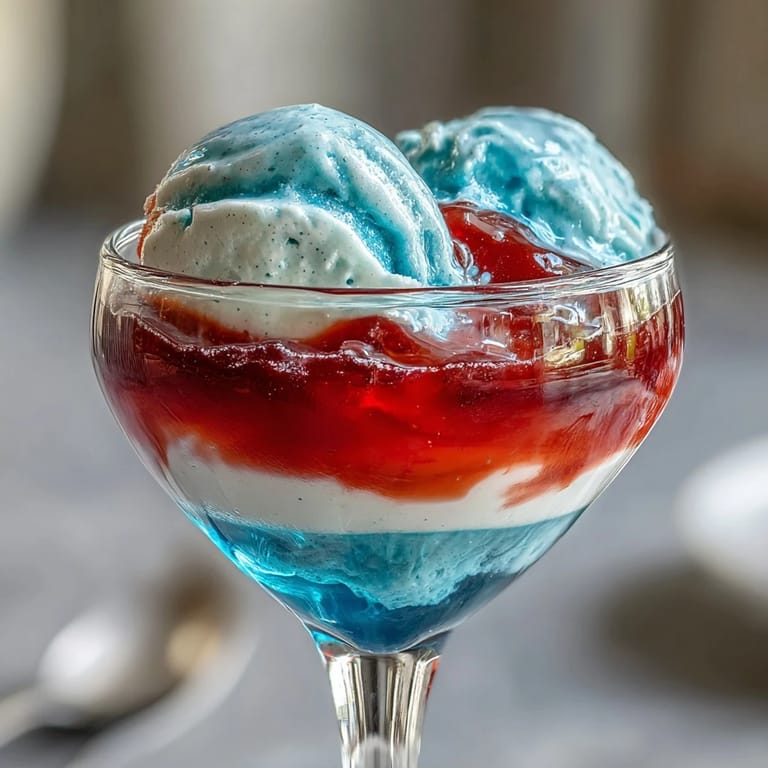
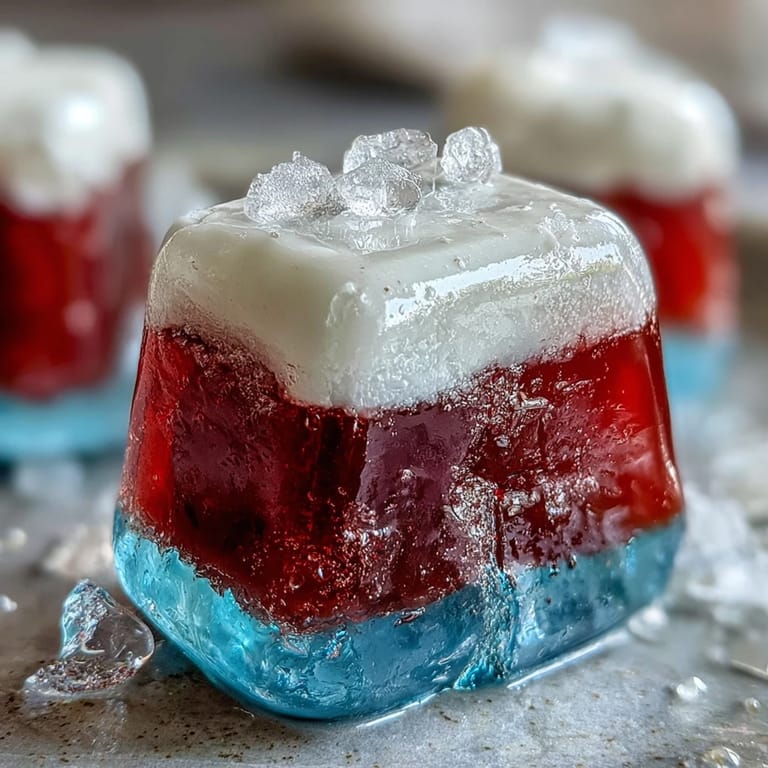
 My daughter came home from school talking about the Fourth of July party her friend was throwing, and she wanted to bring something that would impress everyone. I found myself standing in the kitchen one Saturday afternoon, holding three boxes of Jello and thinking about how to make something that actually looked like it took effort, when really it's just layers of color waiting to happen. There's something magical about watching people's faces light up when they see those bright red, white, and blue stripes stacked perfectly in a clear cup. What started as a simple idea became our tradition, and now she requests these every summer.
I'll never forget my neighbor peeking over the fence right as I was setting those cups at an angle in the muffin tin, asking if I was making some kind of fancy gelatin science project. By the end of the party, those cups were gone faster than anything else on the table, and she was texting me for the recipe before the fireworks even started. That's when I realized these weren't just desserts, they were conversation starters.
Ingredients
- Red Layer Jello (strawberry or cherry): The flavor you choose here sets the tone, and cherry tends to give you a slightly deeper color that looks more intentional than the pale strawberry version.
- Boiling water: Temperature matters more than you'd think, so use water that's actually boiling to dissolve the gelatin properly without lumps.
- Cold water: This cools things down just enough so you're not waiting forever for each layer to set.
- Unflavored gelatin: This is what makes the white layer creamy and distinctive, giving you that contrast that makes the whole thing work.
- Sweetened condensed milk: The white layer wouldn't be nearly as silky without this, and yes, it makes a noticeable difference in texture and richness.
- Blue Layer Jello (blue raspberry): The most vibrant of the three, and it's worth buying the brand that has the deepest blue color you can find.
- Whipped cream and berries (optional but recommended): These turn something pretty into something that feels thoughtful and complete.
Tired of Takeout? 🥡
Get 10 meals you can make faster than delivery arrives. Seriously.
One email. No spam. Unsubscribe anytime.
Instructions
- Get your cups ready:
- Grab eight clear cups and line them up where you can see them, because you're about to watch some color magic happen.
- Make the red layer:
- Pour that boiling water over the red Jello and stir it until every granule dissolves completely, then add the cold water. The mixture should be smooth and bright red with no gritty bits hiding at the bottom.
- Angle and chill the red layer:
- Pour about two tablespoons into each cup and use a muffin tin to tilt them at an angle, creating that slanted stripe. Stick them in the fridge for forty-five minutes to an hour, and resist the urge to check on them too soon.
- Prepare the white layer:
- Sprinkle the unflavored gelatin over cold water and let it sit for five minutes, just getting to know each other. Once bloomed, pour boiling water over it and stir until completely dissolved, then add the sweetened condensed milk and stir until creamy.
- Let the white layer cool:
- Give this one some time at room temperature, maybe fifteen to twenty minutes, so when you pour it on top of the red it doesn't melt everything you just worked for.
- Layer the white gently:
- When the red is completely set, pour the white mixture slowly onto each cup, about two tablespoons per cup. Set them upright now and give them another forty-five minutes to set.
- Make the blue layer:
- Same as the red, dissolve the blue Jello in boiling water, add cold water, and let it cool to room temperature so you're not compromising the white layer.
- Top with blue:
- Once the white is firm, carefully pour the blue layer on top, about two tablespoons per cup, and refrigerate upright for at least two hours until the whole thing is solid.
- Finish and serve:
- Top with whipped cream and fresh berries right before serving, which keeps everything looking fresh and adds a nice contrast.
 Pin it
 There was a moment during that Fourth of July party when my daughter stood next to those cups as her friends passed them around, and she caught my eye with this proud smile like she'd made something that mattered. It wasn't just about the taste or the colors, it was about her confidence in bringing something beautiful to share with people she cared about.
The Angle Trick That Changes Everything
The muffin tin method sounds overly complicated until you actually do it and see how it creates that perfect diagonal stripe across the cup. I've tried just tilting them by hand and propping them against other objects, but the muffin tin holds them at just the right angle without stress. Once you've made these once with the angle, you'll never want to make them flat again.
Why Each Layer Needs Its Own Timing
Rushing the set time is the fastest way to turn this into a two-color blob instead of a three-color masterpiece. The red needs time to firm up enough that it won't shift when the white goes in, and the white needs to be nearly solid before the blue hits. I've learned that setting a phone timer actually helps me stop staring at them and wondering if they're ready.
Variations and Serving Ideas
These cups are endlessly adaptable depending on what flavors you're craving or what colors you're celebrating. You can swap in lime green for blue, orange for red, or even go with all berry flavors if you want a monochromatic approach. The white layer is your neutral canvas that makes any flavor combination look intentional and interesting.
- Try adding a splash of coconut or almond extract to the white layer for a subtle flavor lift that makes people ask what your secret is.
- Make them a day or two ahead and store them covered in the fridge so you're completely stress-free on party day.
- The berries and whipped cream topping isn't just decoration, it gives people something textural to look forward to.
 Pin it
 These layered cups taught me that sometimes the simplest recipes become the ones people remember most, not because they're complicated but because they feel special. There's something genuinely joyful about layering flavors and watching them set into something beautiful that everyone gets excited about.
Recipe Q&A
- → How do I get sharp distinct layers?
Allow each layer to fully set before carefully pouring the next to maintain clean separation and avoid mixing.
- → Can I substitute the milk for a dairy-free version?
Yes, coconut milk and sugar can replace sweetened condensed milk to keep the creamy texture without dairy.
- → What flavors are used in the red and blue layers?
Strawberry or cherry flavor is used for the red layer while blue raspberry is used for the blue layer to provide vibrant taste and color.
- → How long should the dessert chill before serving?
Chill for at least 4 hours total, allowing 45–60 minutes for the red and white layers each, then at least 2 hours for the blue layer.
- → What tools help with setting the cups at an angle?
A muffin tin can be used to hold cups at a slight angle during chilling, creating the layered effect with slanted stripes.
- → Can fresh fruit be added as garnish?
Yes, fresh blueberries and strawberries plus whipped cream add a decorative and flavorful touch before serving.