 Pin it
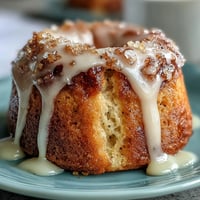
 There's something magical about walking into a kitchen on a lazy Sunday morning and deciding, on a whim, to bake instead of flip. I'd been making individual pancakes for years—the constant back-and-forth at the stove, the timing game to keep early plates warm—until one autumn, I simply dumped everything into a baking dish and let the oven do the heavy lifting. What emerged was golden, tender, and somehow tasted even better than the stovetop version, probably because I wasn't standing there, spatula in hand, wondering if I'd gotten the heat just right.
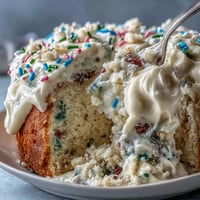
I made this for my sister's birthday brunch last spring, when she casually mentioned hating the fuss of traditional pancake breakfasts. Watching her face light up when she realized she could have a whole pan of warm, fluffy pancakes without me disappearing into the kitchen for thirty minutes straight—that moment made me understand why this dish has stayed in regular rotation ever since.
Ingredients
- All-purpose flour: The foundation here; I've learned that scooping directly from the bag compacts it slightly, so I always spoon and level for accuracy.
- Granulated sugar: Just enough to enhance the pancake flavor without competing with the maple.
- Baking powder and baking soda: The duo that gives you that characteristic fluffy crumb; don't skip the baking soda or you'll miss the subtle tang that makes pancakes taste right.
- Salt: A small amount that rounds out sweetness in ways people rarely notice until it's missing.
- Large eggs: These bind everything and add richness that makes the casserole custard-like in the best way.
- Whole milk: The key to tender, moist pancakes; skim milk will give you something closer to rubber.
- Unsalted butter, melted: Adds richness and helps achieve that golden exterior; I always melt it just before mixing so it stays liquid.
- Vanilla extract: A teaspoon seems small until you taste its quiet, lovely impact.
- Pure maple syrup: This is where you don't compromise; imitation syrup tastes like regret, and I learned this the hard way.
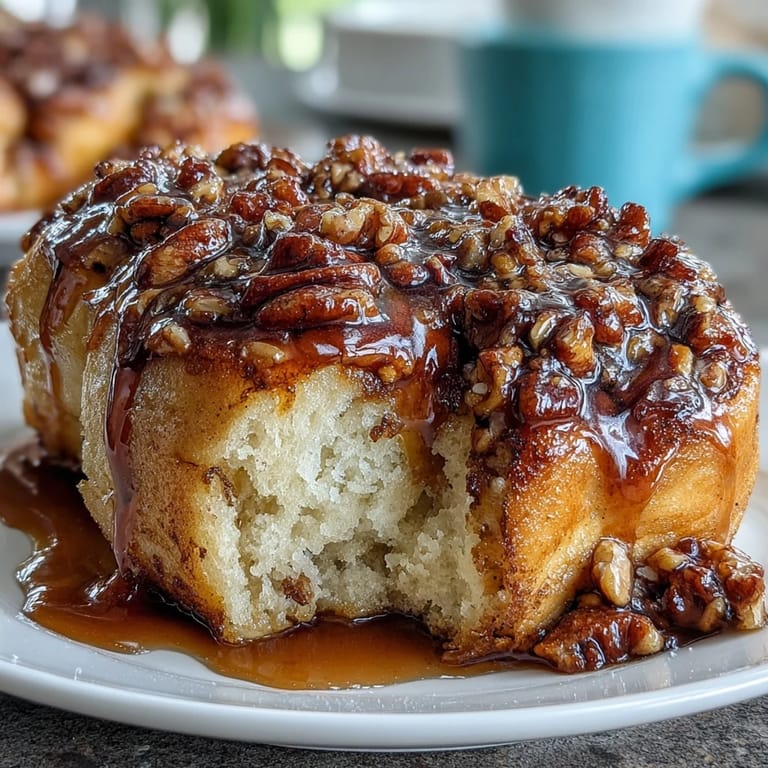
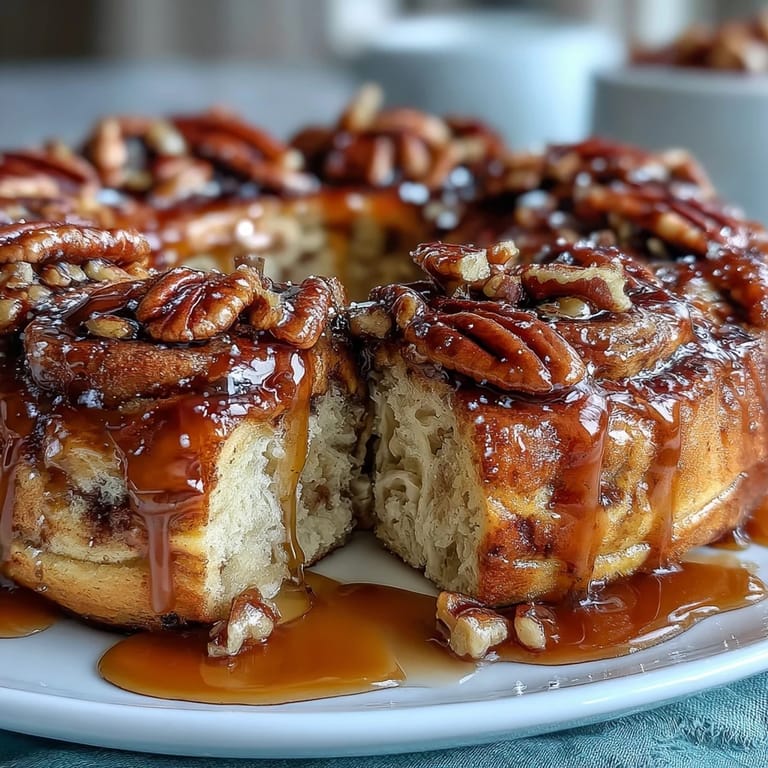
- Chopped pecans or walnuts: Optional but honestly, they're what elevate this from weeknight breakfast to something worth setting a timer for.
- Powdered sugar: A finishing touch that catches light and looks intentional.
Tired of Takeout? 🥡
Get 10 meals you can make faster than delivery arrives. Seriously.
One email. No spam. Unsubscribe anytime.
Instructions
- Set your oven and prepare the stage:
- Preheat to 350°F and grease your 9x13-inch dish thoroughly with butter; cold spots will lead to uneven baking and regret. This matters more than you'd think.
- Build your dry mixture:
- Whisk together flour, sugar, baking powder, baking soda, and salt in a large bowl, making sure there are no lumps hiding in the corners. This is your chance to incorporate air before the wet ingredients arrive.
- Combine your wet ingredients:
- In a separate bowl, whisk eggs, milk, melted butter, and vanilla until completely smooth and unified. The separation here prevents overmixing, which would toughen everything.
- Bring it together gently:
- Pour the wet mixture into the dry, then stir just until combined—lumps are your friends, not your enemies. Overmixing develops gluten and creates pancakes that taste dense, which defeats the entire purpose.
- Pour and spread:
- Spread the batter evenly into your prepared dish; it won't fill it to the brim, and that's exactly right. You need room for things to rise and for the syrup to mingle.
- Create the maple marble:
- Drizzle your half cup of maple syrup over the batter, then take a knife and gently swirl it through, creating those beautiful lines. Don't overdo it or you'll lose the swirl effect entirely.
- Add optional texture:
- Scatter pecans or walnuts across the top if you're using them; they'll toast slightly during baking and add a subtle crunch. This step transforms good into memorable.
- Bake until golden:
- Slide into the oven for 28 to 32 minutes, watching for a deep golden color and checking doneness with a toothpick. The center should come out clean, not with wet batter clinging to it.
- Rest and finish:
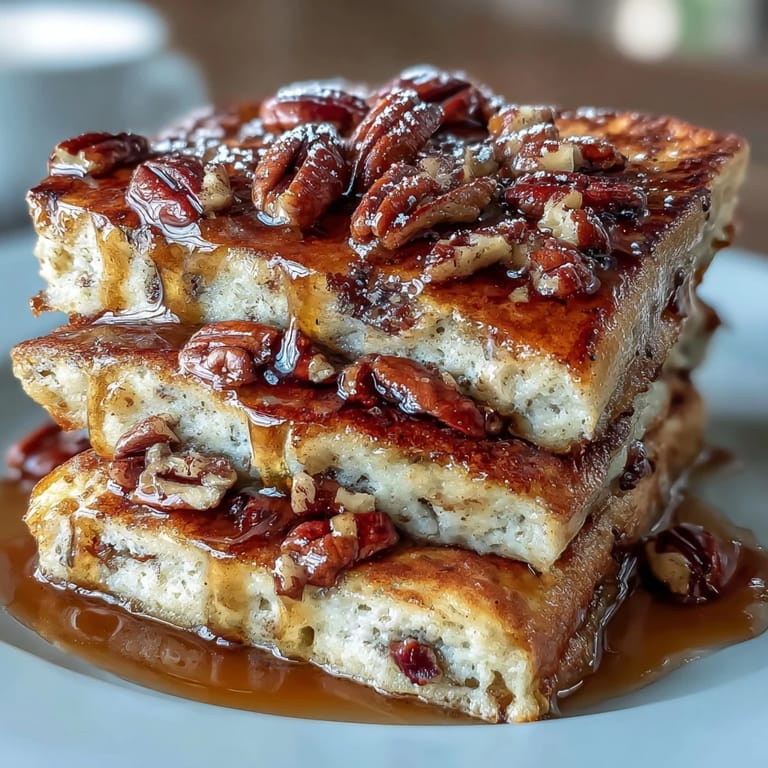
- Let it cool for exactly 5 minutes—this lets the structure set without cooling the whole thing down. Then dust generously with powdered sugar, slice, and serve warm with a pitcher of extra syrup nearby.
 Pin it
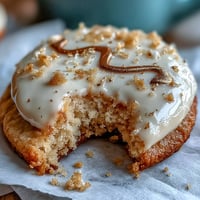
 My nephew, who's notoriously particular about breakfast, asked for seconds and then thirds of this casserole last summer, which in his world is basically a marriage proposal. That's when I realized this wasn't just a convenient breakfast hack; it had somehow become the kind of thing people actually request by name.
Why This Works as a Crowd-Pleaser
There's something about serving food from a single warm dish that makes people relax. You're not juggling plates, timing, or keeping anyone waiting—everyone eats at once, hot and happy. The casserole format also means you can make it ahead, leave it in a cool oven, and simply reheat it gently before serving, which removes the performance anxiety entirely.
Flavor Variations Worth Trying
Once you've made this the classic way, the possibilities open up beautifully. I've swirled in blueberries, sliced bananas just before baking, and even a handful of chocolate chips that melted into little pockets of indulgence. A friend added cinnamon to her dry mixture and suddenly everyone was asking for her version. The foundation is stable enough to handle creativity without falling apart.
Making It Your Own
This recipe belongs to you the moment you make it, so don't be shy about adjusting for what you love and what you have on hand. Whole wheat flour works if you cut it with all-purpose, plant-based milk swaps in perfectly, and dairy-free butter browns just as golden. The real secret is respecting the bake time and not opening the oven door halfway through like you're checking on a suspenseful mystery.
- For a dairy-free version, use coconut or oat milk and vegan butter with no changes to quantities or technique.
- Dust with cinnamon sugar instead of powdered sugar if you want to lean into warm spice notes.
- Serve alongside fresh berries, whipped cream, or crispy bacon to round out your brunch spread.
 Pin it
 What started as a shortcut has become my favorite way to feed people—simple enough that it doesn't steal your morning, impressive enough that guests think you've done something special. Isn't that exactly what breakfast should be?
Recipe Q&A
- → Can I use a dairy-free milk alternative?
Yes, plant-based milks like almond or oat milk can replace dairy milk, and dairy-free butter substitutes work well to maintain moisture.
- → How do I achieve the marbled maple syrup effect?
After pouring the batter in the dish, drizzle maple syrup over the top, then gently swirl it with a knife for a marbled look without mixing fully.
- → What nuts can be added for extra texture?
Chopped pecans or walnuts are traditional choices that add a pleasant crunch, but feel free to use your preferred nuts or omit them.
- → How do I know when it is fully baked?
The casserole is done when golden on top and a toothpick inserted in the center comes out clean, usually after 28-32 minutes baking at 350°F.
- → Can fruit be incorporated before baking?
Yes, blueberries, sliced bananas, or chocolate chips can be gently folded into the batter before baking to add flavor and variety.