 Pin it
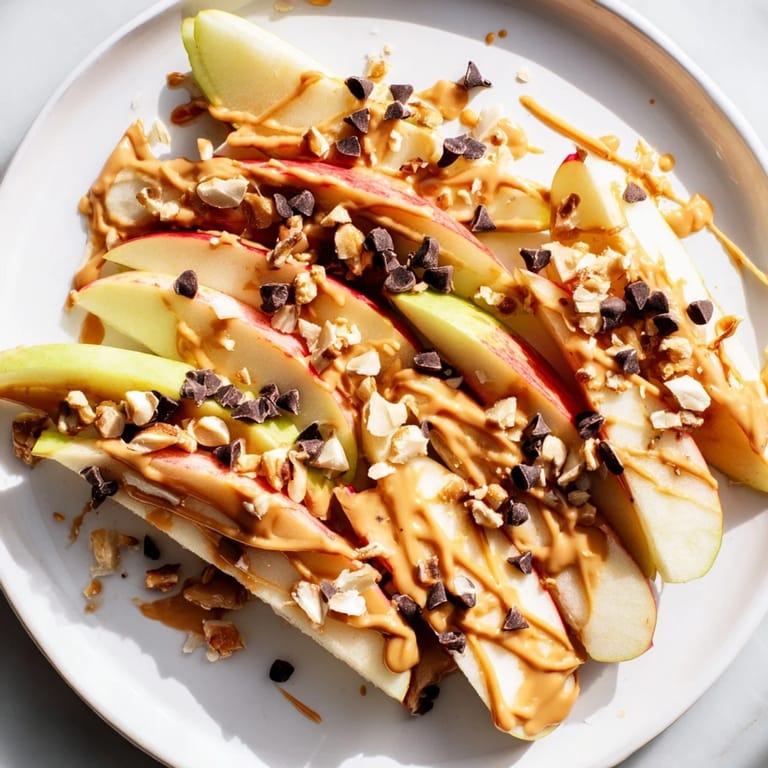
 I was rushing through the kitchen one afternoon, starving after a long run, and spotted two lonely apples in the fruit bowl. Instead of another boring snack, I sliced them thin, drizzled whatever was in the pantry, and suddenly had something that felt indulgent but wasn't. That moment taught me the best recipes don't need an oven. Sometimes all you need is five minutes and a little creativity to turn the ordinary into something worth sharing.
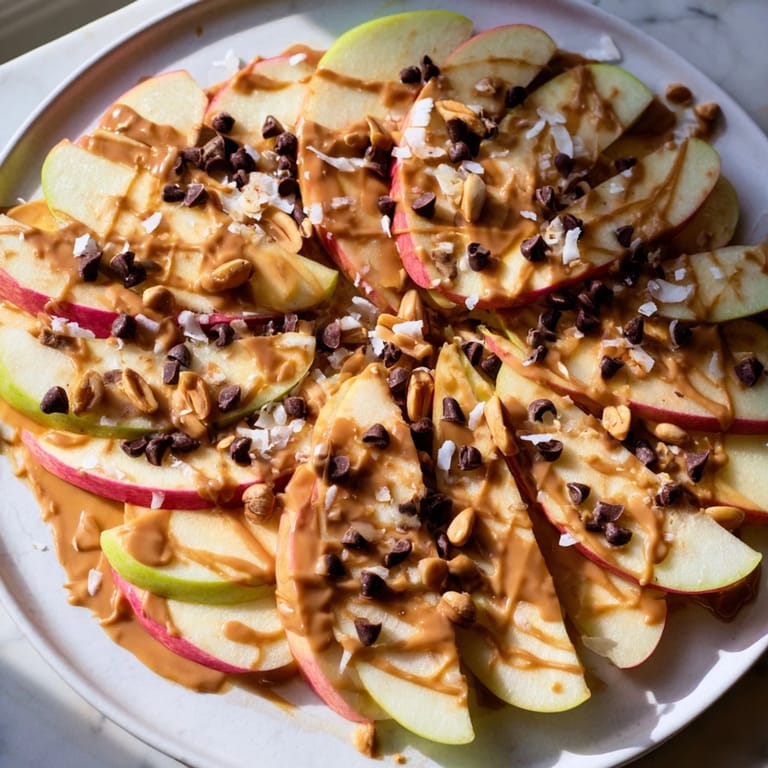
The first time I made this for my niece, she called it pizza for healthy people and ate every slice. Watching her pick her own toppings, carefully sprinkling chocolate chips like they were treasure, reminded me that food tastes better when you have a hand in making it. Now it's our thing whenever she visits, and she always asks if we have enough apples.
Ingredients
- Apples: Choose crisp varieties like Honeycrisp or Granny Smith so they hold up under toppings without getting soggy, and slice them thin enough to layer but thick enough to stay crunchy.
- Peanut Butter: Creamy works best for drizzling, but if it's too thick, a quick fifteen-second microwave zap turns it into liquid gold that coats every slice evenly.
- Honey or Maple Syrup: This adds just enough sweetness to balance the tartness of the apples without overpowering the natural flavors.
- Chopped Roasted Peanuts or Mixed Nuts: They bring crunch and richness, and toasting them first deepens their flavor in a way raw nuts never could.
- Mini Chocolate Chips: Optional but highly recommended if you want to win over skeptical kids or anyone who thinks healthy snacks are boring.
- Shredded Coconut: It adds a tropical hint and textural contrast that makes each bite feel a little more special.
Tired of Takeout? 🥡
Get 10 meals you can make faster than delivery arrives. Seriously.
One email. No spam. Unsubscribe anytime.
Instructions
- Layer the Apples:
- Arrange your apple slices in a single overlapping layer on a large plate or platter, fanning them out like fallen dominoes. The presentation matters more than you'd think, it turns a snack into an event.
- Warm the Peanut Butter:
- Microwave the peanut butter for about fifteen seconds until it's just loose enough to drizzle smoothly. Don't skip this step or you'll end up with clumps instead of ribbons.
- Drizzle the Peanut Butter:
- Use a spoon to drizzle the warmed peanut butter back and forth over the apples in thin streams. Aim for coverage without drowning the slices.
- Add the Honey:
- Drizzle honey or maple syrup over everything in the same zigzag motion, letting it catch the light as it pools in the gaps between slices.
- Sprinkle the Toppings:
- Scatter the chopped nuts, chocolate chips, and coconut evenly across the top, making sure every slice gets a little bit of everything. This is where the magic happens.
- Serve Immediately:
- Dig in right away while the apples are still crisp and the peanut butter hasn't had time to settle and harden.
 Pin it
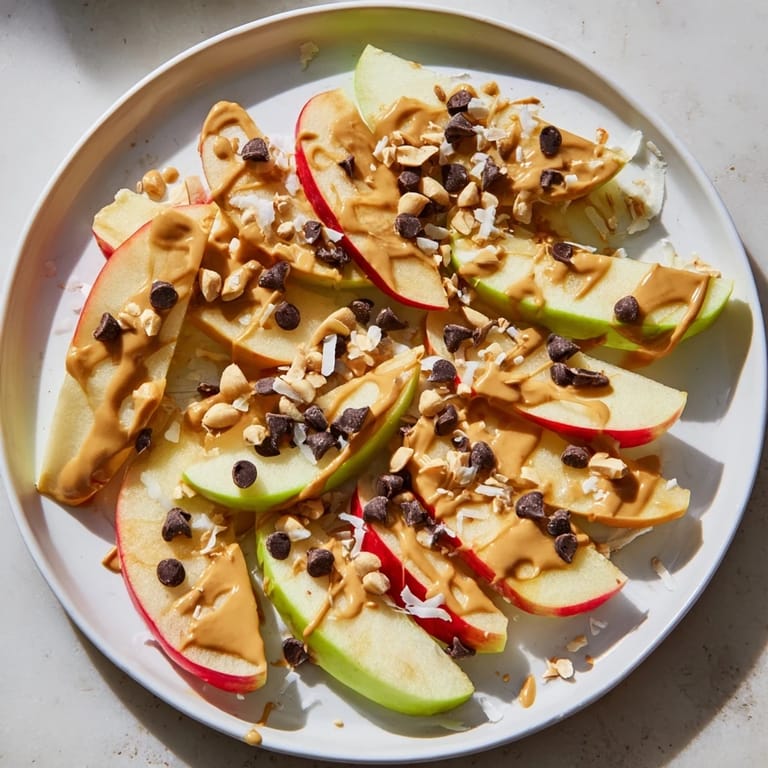
 One evening I brought this to a dinner party as a last-minute appetizer, half expecting everyone to skip it for the cheese board. Instead, it disappeared first, and three people asked for the recipe before I'd even sat down. That's when I realized simple doesn't mean forgettable, sometimes it means unforgettable.
Swaps and Substitutions
If peanut allergies are a concern, almond butter or sunflower seed butter work beautifully and bring their own unique flavor without compromising the creamy drizzle. Pears can stand in for apples if you want something softer and sweeter, though they won't have quite the same snap. For a less sweet version, skip the honey and let the natural fruit sugars and nut butter carry the flavor on their own.
Serving Suggestions
This pairs perfectly with a glass of cold milk, unsweetened iced tea, or even a light sparkling water with lemon if you want to keep things refreshing. I've served it as an after-school snack, a pre-workout bite, and even a casual dessert at weekend brunches, and it works every time. Let people customize their own plates with bowls of toppings on the side, it turns snack time into something interactive and fun.
Storage and Make-Ahead Tips
Honestly, this is best enjoyed fresh since apples oxidize and lose their crispness quickly once sliced. If you need to prep ahead, slice the apples and toss them in a little lemon juice to slow browning, then store them in an airtight container for up to two hours. Keep all toppings separate and assemble right before serving so nothing gets soggy or slides off.
- Store leftover toppings in small jars for quick assembly next time.
- Use a mandoline for perfectly uniform apple slices if you want that polished look.
- Double the recipe for a crowd, it scales effortlessly and always disappears fast.
 Pin it
 This snack has become my go-to when I want something that feels like a treat but doesn't slow me down. I hope it becomes yours too.
Recipe Q&A
- → Can I use other fruits instead of apples?
Yes, pears or firm sliced peaches work well, providing a similar texture and natural sweetness.
- → Is it possible to substitute peanut butter?
Absolutely, almond or sunflower seed butter are great alternatives, especially for peanut-free preferences.
- → How should I serve this snack for best texture?
Arrange apple slices in a single layer and serve immediately after adding toppings to maintain crispness.
- → Can I add extra sweetness without honey?
Maple syrup or a sprinkle of dried cranberries or raisins provides natural sweetness boosters.
- → What nuts complement the flavors best?
Roasted peanuts or mixed nuts add crunch and depth, enhancing the creamy spread and crisp fruit.