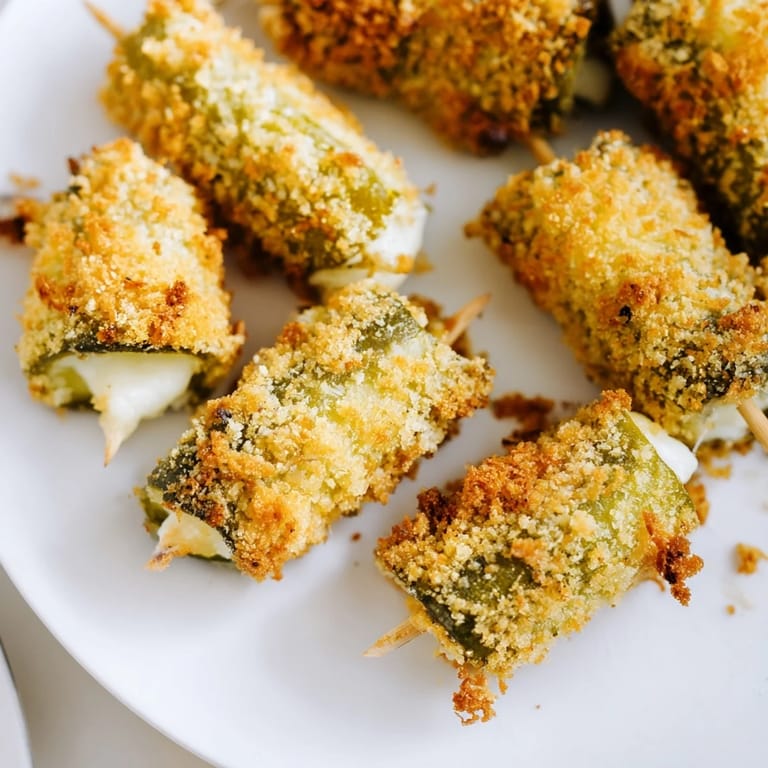
 Pin it
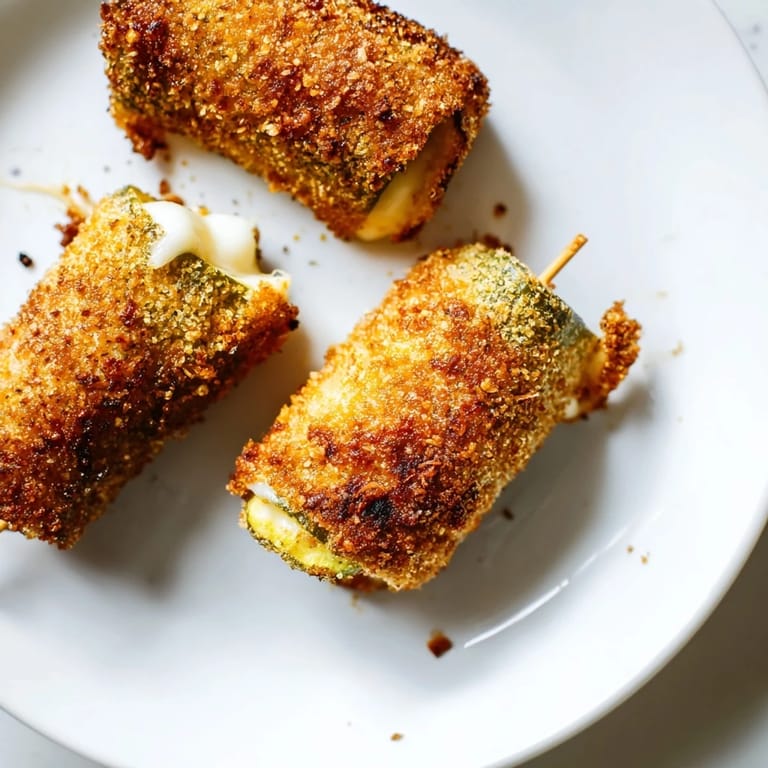
 The first time I made these, I was standing in my kitchen on a random Tuesday evening, staring at a jar of dill pickles and wondering what to do with the leftover cheese slices from the weekend. Something clicked—what if I wrapped them together and fried them? Twenty minutes later, I pulled golden, crispy bites from the oil and couldn't stop eating them. My partner walked in, grabbed one without asking, and immediately wanted the recipe. That's when I knew I'd stumbled onto something special.
I served these at a casual game night last month, and they disappeared faster than the snack bowl could stay full. Someone asked if they were homemade, and when I said yes, they looked genuinely shocked. That moment—when something simple you made from your kitchen gets that kind of reaction—never gets old. It's funny how wrapping pickles in cheese became the star of the night.
Ingredients
- Dill pickle spears: Pat them completely dry before wrapping—any moisture will make your coating soggy and the oil will spit.
- Mozzarella, cheddar, provolone, or pepper jack cheese: Use slices that are firm enough to wrap, and don't skip the drying step for the pickles.
- Large egg and milk: This mixture keeps your breadcrumb coating stuck to the cheese as it fries.
- Gluten-free panko breadcrumbs: Panko gives you that extra crunch regular breadcrumbs can't match.
- Garlic powder and smoked paprika: These seasonings add depth without overpowering the pickle and cheese.
- Vegetable oil: Use enough to come up about an inch in your skillet so the bites can float and cook evenly.
Tired of Takeout? 🥡
Get 10 meals you can make faster than delivery arrives. Seriously.
One email. No spam. Unsubscribe anytime.
Instructions
- Prep your pickles:
- Pat the dill pickle spears completely dry with paper towels—this is non-negotiable if you want a crispy coating. Cut each spear in half crosswise to create 16 manageable pieces.
- Wrap with cheese:
- Lay a slice of cheese flat, place a pickle piece at one end, and roll it up tightly. If it won't stay together, secure it with a toothpick (just remember to remove it before serving).
- Set up your coating station:
- In one shallow bowl, whisk the egg and milk together until smooth. In another bowl, mix the breadcrumbs with garlic powder, smoked paprika, and black pepper.
- Bread each bite:
- Dip each pickle-and-cheese bundle into the egg mixture, then immediately roll it in the breadcrumb mixture, pressing gently so the crumbs actually stick. A loose coating will separate in the oil.
- Heat your oil:
- Pour vegetable oil into a deep skillet until it reaches about an inch deep, then heat to 350°F (175°C). If you don't have a thermometer, drop a tiny piece of bread in—if it sizzles immediately and browns in about a minute, you're ready.
- Fry in batches:
- Don't crowd the pan. Fry the bites in small batches, turning occasionally with a slotted spoon or tongs, until they're golden brown and crispy—about 2 to 3 minutes per batch.
- Drain and serve:
- Transfer the hot bites to a paper towel-lined plate to drain excess oil, then remove any toothpicks and serve while they're still warm and the cheese is still gooey inside.
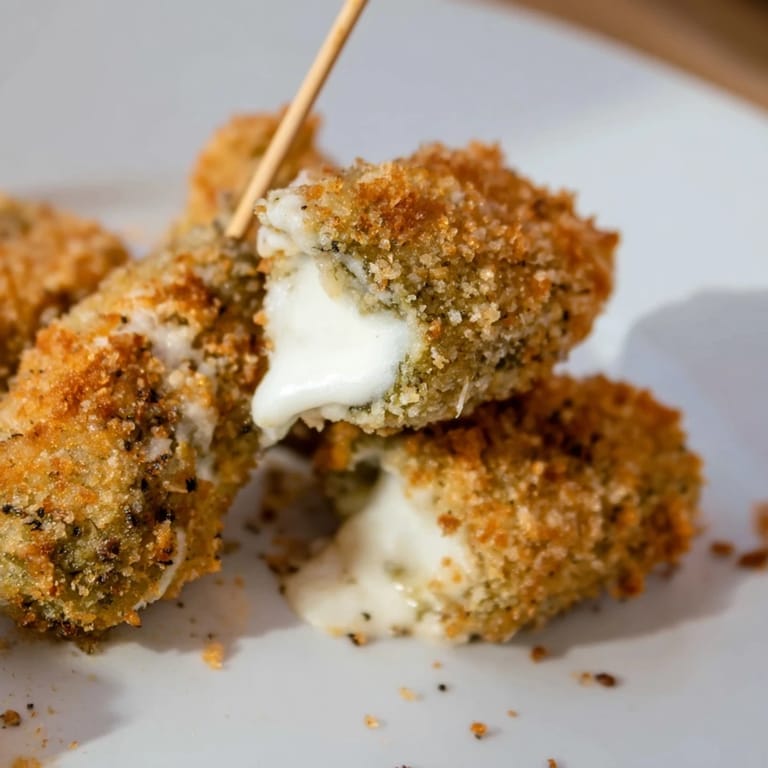
 Pin it
 I made these for my sister's birthday potluck, and her friend asked for the recipe while still chewing. There's something about a snack that's fun to eat and makes people genuinely happy that reminds you why cooking for others matters.
Flavor Combinations to Try
Once you nail the basic version, the variations are endless. I've tested pepper jack with mild pickles for a gentle heat, sharp cheddar with dill pickles for an intense flavor combo, and provolone with spicy pickles for something bolder. Each combination shifts the personality of the bite without changing the technique. The beauty is that you're not reinventing the wheel—you're just swapping one variable at a time to see what sings.
Frying vs. Baking Your Bites
The oil method gives you that irresistible crispy exterior and gooey cheese interior, but if you prefer to skip the deep fryer, baking works too. Lay them on a parchment-lined sheet, spray lightly with oil, and bake at 425°F (220°C) for 12 to 15 minutes, flipping halfway through. You'll lose a tiny bit of that fried-food magic, but you gain simplicity and less cleanup. Both methods hit the mark for a weeknight snack.
Make-Ahead and Storage
The real secret to stress-free entertaining is prepping these earlier in the day. Wrap and bread all your bites, then refrigerate them until you're ready to fry. They'll actually hold together better when cold. You can also fry them ahead and reheat them in a 350°F oven for about 5 minutes to restore the crispness.
- Keep the breaded bites in the fridge for up to 8 hours before frying.
- Cooked bites stay crispy in an airtight container for up to 2 days and reheat beautifully in the oven.
- Freeze unbaked breaded bites for up to a month, then fry straight from frozen (just add a minute or two to the cooking time).
 Pin it
 These bites have become my go-to when I need something that looks thoughtful but takes almost no time. They're proof that the best foods often come from just paying attention to what you have on hand and trusting your instincts.
Recipe Q&A
- → What type of cheese works best?
Mozzarella melts beautifully for a gooey texture, but cheddar, provolone, or pepper jack can add unique flavors.
- → Can I bake these instead of frying?
Yes, bake coated bites at 425°F (220°C) for 12–15 minutes until crisp, flipping halfway through.
- → How do I prevent sogginess in the bites?
Pat pickles dry thoroughly and press breadcrumbs firmly for a crisp coating that holds during frying.
- → Are these suitable for gluten-free diets?
Use gluten-free panko breadcrumbs to keep the bites gluten-free and maintain crunchiness.
- → What dipping sauces pair well with these bites?
Ranch dressing, spicy mayo, or marinara sauce complement the tangy and cheesy flavors perfectly.